Building on top of our FAMP stack from last week, we’ll be installing Wordpress. Wordpress isn’t the only web application that can run on an *AMP stack, but it’s one of the most well-known.
Synopsis
You need a FAMP stack. I’m using Apache, Mariadb, and php-fpm.
As of writing, FreeBSD 13.0-CURRENT ships Wordpress-5.4.2 as a package. Even though this sounds great, it might not always be the best choice. Wordpress is a dumpster fire, burning bright with exploits and vulnerabilities. In order to minimize risk we’ll be grabbing the latest tarball (5.5.3) from the wordpress site and installing it the caveman way.
We will then create and configure a wordpress user and give it a database within mariadb. After mariadb is configured we open our web browser, navigate to our trusty server, then finish up with Wordpress’ handy web gui for configuration.
Installing PHP Libraries
This is the part where downgrading php might be necessary. If you’re running php74, simply remove it with the following command below. Otherwise, skip this step.
$ pkg remove php74
Now we can proceed with installing php73. Downgrading is easy!
# install php libraries
$ pkg install php73-mysqli php73-json php73-xml php73-hash php73-gd php73-curl php73-tokenizer php73-zlib php73-zip

# convince php that it's .ini exists
$ cp /usr/local/etc/php.ini-production /usr/local/etc/php.ini

# remind freebsd that new executable files exist
$ rehash

# restart everything so it knows the libraries exist
$ service php-fpm restart
$ service apache24 restart
Grabbing That Fat Wordpress Tarball
Remember, use your brain. Don’t copy-paste verbatim. Dangerous commands lie ahead.
Always grab the latest release from the wordpress downloads page. Always double check your commands before running them, especially the destructive ones.
# download the wordpress tarball
$ fetch http://wordpress.org/wordpress-5.5.3.tar.gz https://wordpress.org/wordpress-5.5.3.tar.gz.sha1
# If you are getting SSL auth errors like me, try the following:
# fetch --no-verify-peer https://wordpress.org/wordpress-5.5.3.tar.gz https://wordpress.org/wordpress-5.5.3.tar.gz.sha1

# now we check the shasum
# If they don't match you have a corrupted or malicious archive
$ cat wordpress-5.5.3.tar.gz.sha1 && echo "" && shasum wordpress-5.5.3.tar.gz

# remove testing files from apache's default document root
$ rm -rf /usr/local/www/apache24/data/*

# extract the tarball
$ tar xzfv ./wordpress-5.5.3.tar.gz -C /usr/local/www/apache24/data/

# coax wordpress out of it's comfy subdir
$ cd /usr/local/www/apache24/data/wordpress
$ mv ./* ../
$ rmdir wordpress/

# recursively modify DAC so Apache will be allowed to serve wordpress
$ chown -R root:wheel ./*
Database Discombobulation
Your database setup will likely be different from mine. I’m using UNIX sockets for my root user’s authentication but you’ll likely have a password. Adjust your commands accordingly.
The first thing we need to do is log into mariadb.
$ mysql -u root
# or, if you have a password:
$ mysql -u root -p
Now that we’re in maraidb’s shell we need to create a database and a user. Remember the names you select for each as well as the password you choose. You will need these values later.
-- create a database
CREATE DATABASE wordpress;
-- then create a user and choose your own password
CREATE USER 'wordpress'@'localhost' IDENTIFIED BY 'yourpassword';
-- now we give the wordpress user full grants on it's database
GRANT ALL PRIVILEGES ON wordpress.* TO 'wordpress'@'localhost';
-- reload privileges before we go
FLUSH PRIVILEGES;
EXIT;
Good job! You’ve just done some SQL scripting without even knowing it! I’m proud of you. It only gets easier from here.
Finally, Wordpress Configuration
Point your web browser to your server. You should see something like this if everything is working: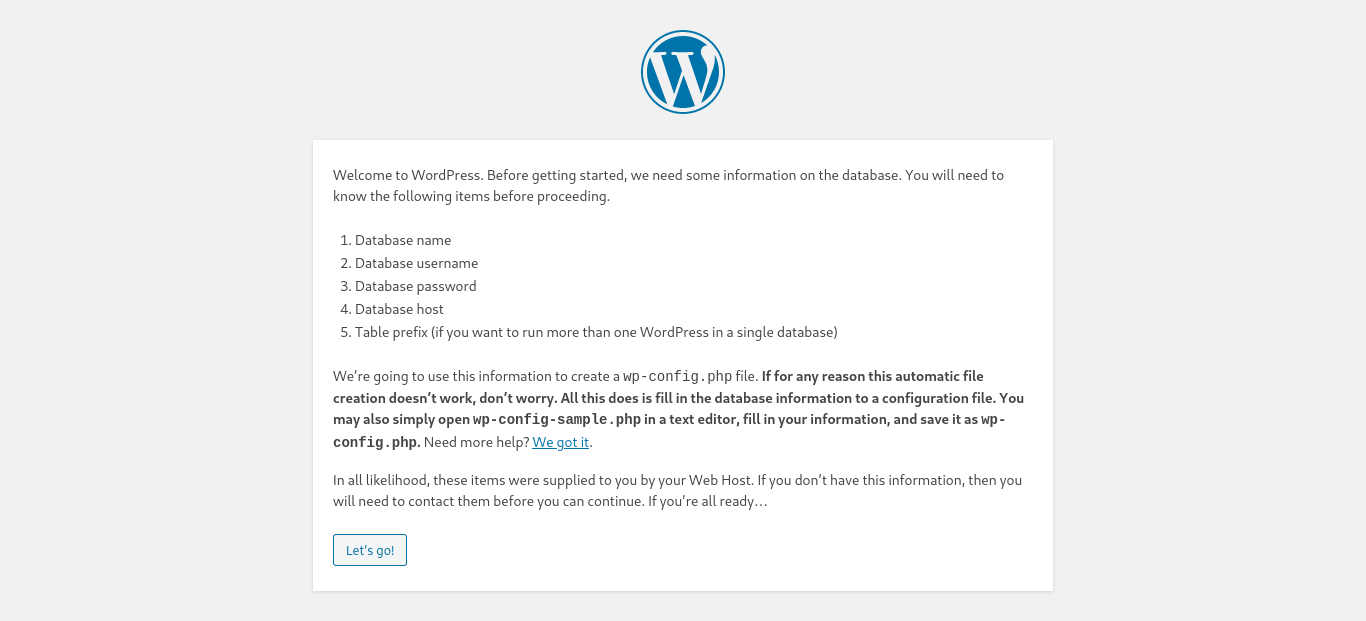
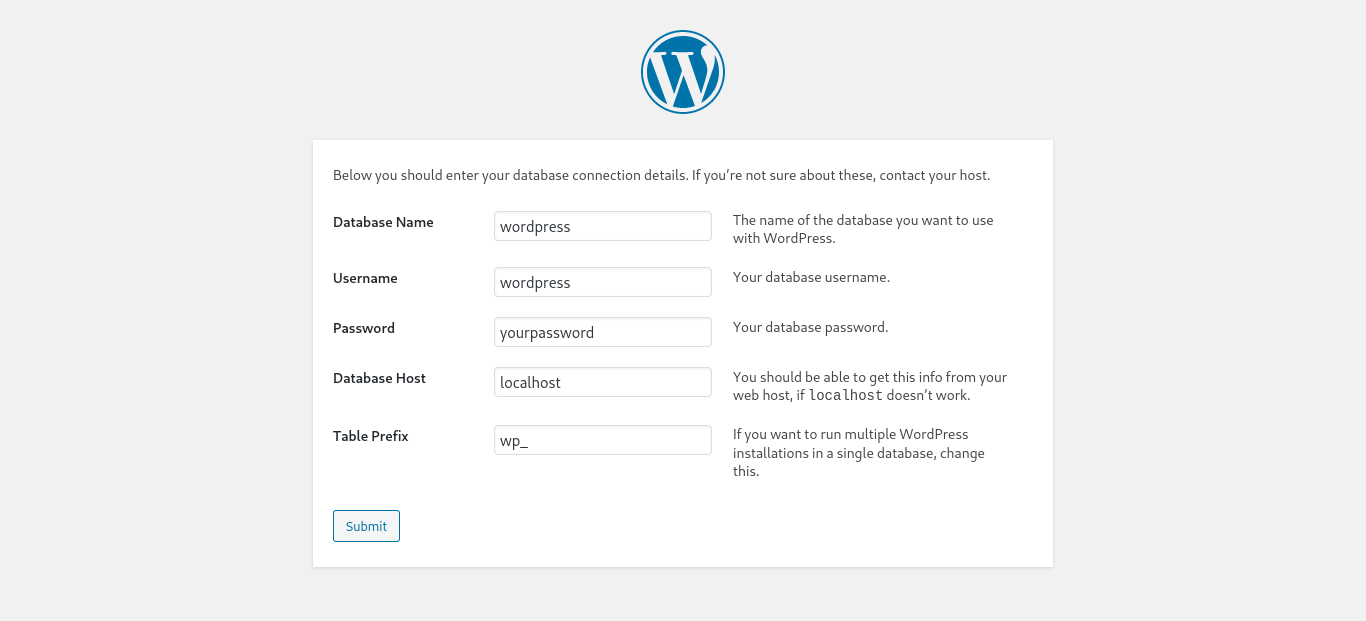
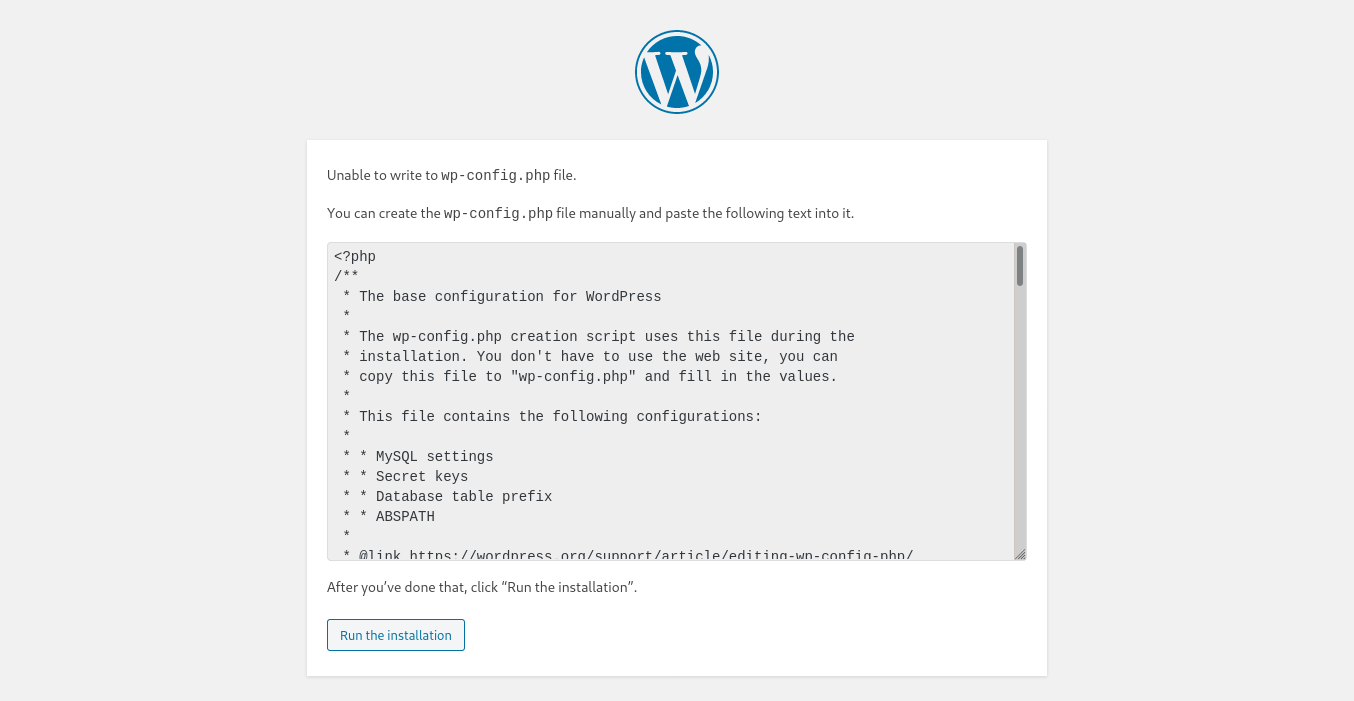
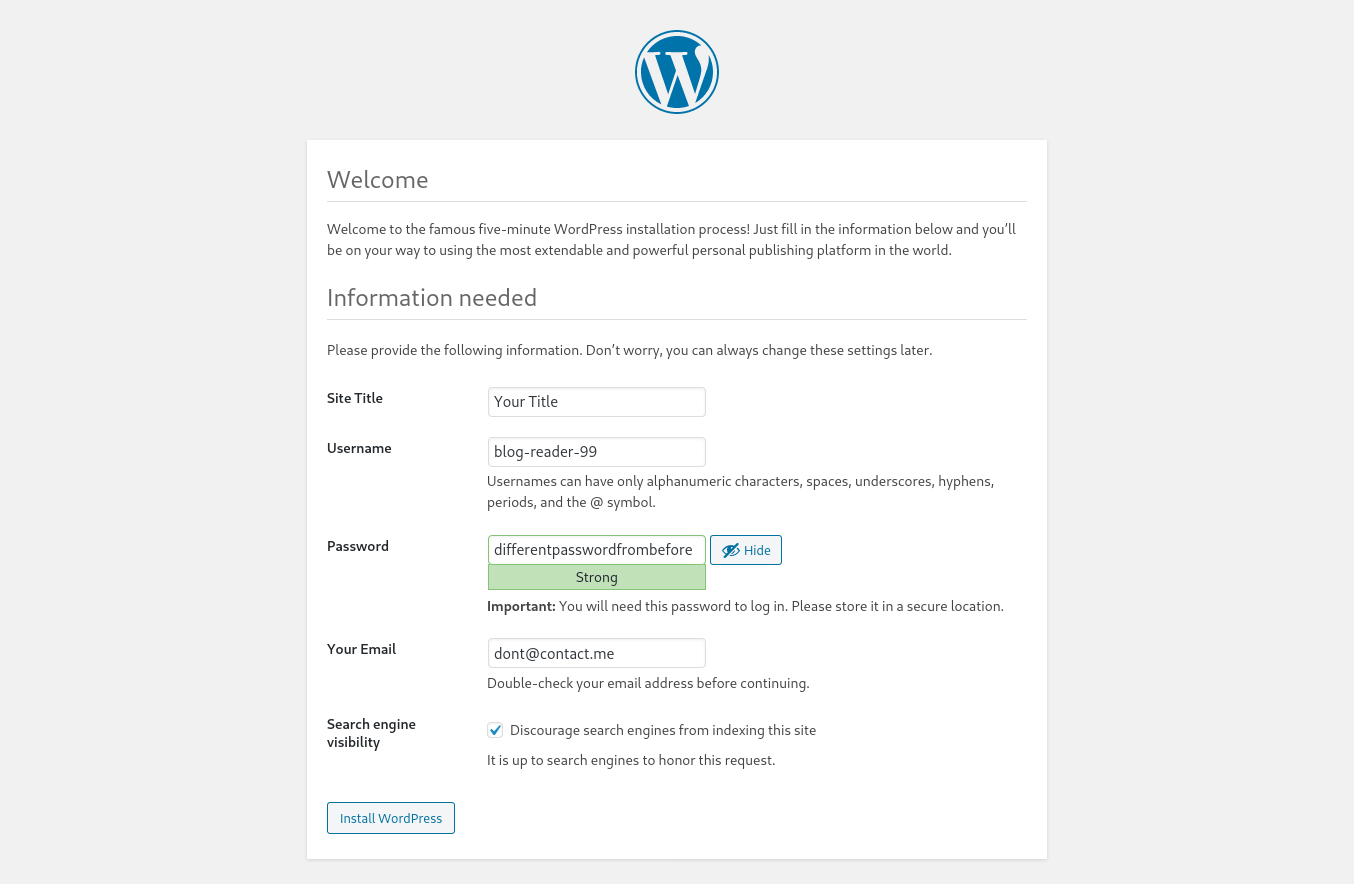
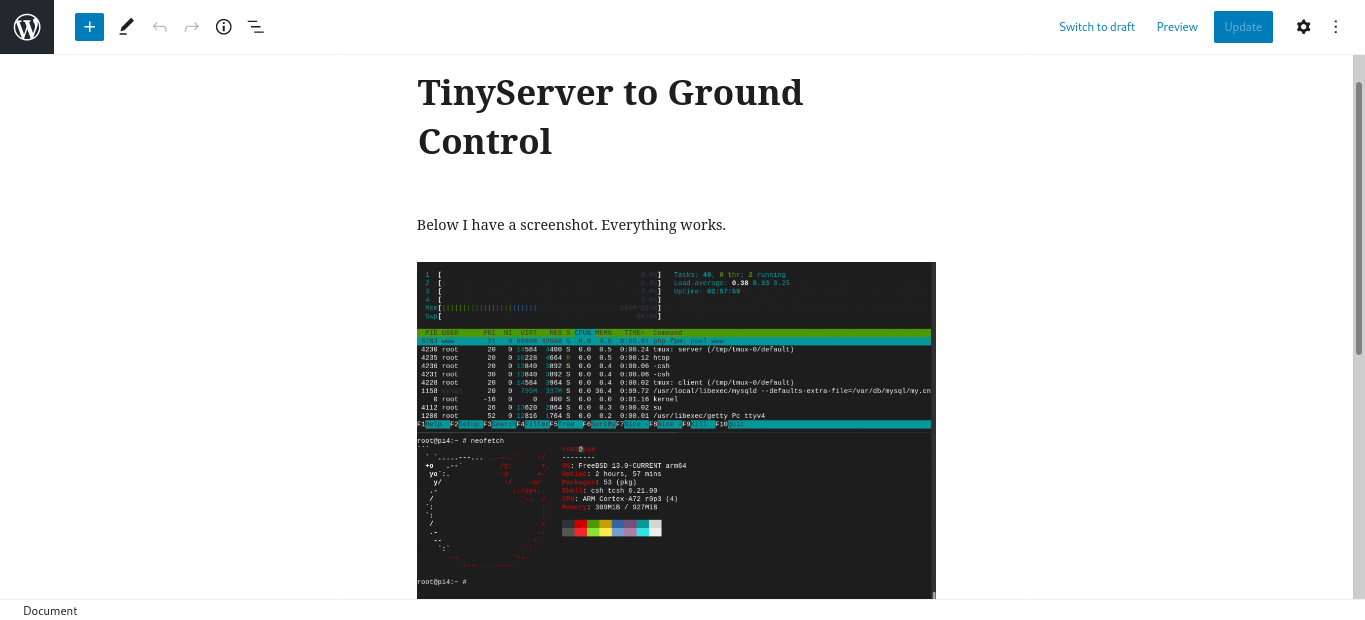
After some tinkering around I realized that I needed to do some additional tinkering to get media uploads working. Otherwise, this installation looks complete.
Conclusion
After all this, I think I’ll stick with Jekyll. I can see a use case for Wordpress . . . but I am the antithesis of it’s target usebase. For every feature it seems like there is a sharp edge that’s easy to cut yourself on. For every customization you do yourself there’s a new bug to work out. I’m not trying to discourage anyone from using it, I’m simply stating my chief complaints. But, as with all things, I intend to continue playing with Wordpress. Maybe there’s something I’m missing. Let’s wait and see.
 Monero:
  Bitcoin:
  http://ilsstfnqt4vpykd2bqc7ntxf2tqupqzi6d5zmk767qtingw2vp2hawyd.onion:8080
 http://xzh77mcyknkkghfqpwgzosukbshxq3nwwe2cg3dtla7oqoaqknia.b32.i2p:9090
  |
|

