HumHub is a self-hosted, centralized, open source platform for groups. It’s flexible, modular, and adapts to your individual use case. HumHub is written in PHP which means it’s perfect for our ever-evolving FAMP stack.
HumHub seems to have a slightly different use case than other self-hosted social platforms. It’s primary use case is for small groups and organizations. Let’s compare a HumHub to something you might be familiar with: the Fediverse.
| HumHub | Fediverse |
|---|---|
| Centralized | Federated |
| You actually own all your data. All means all. | Your data is cached on servers you don’t own (and possibly aggregated and sold by instances you federate with) |
| Moderation is easy since all users live in one place | moderation tools are very verbose and easy to use . . . but setting a new instance to evade cross-instance bans is even easier |
| Allows for open registration or invite-only | Allows for open registration or invite-only |
| Ideal for small groups and projects within (or without) larger parent organizations | For people who want “a better social media” |
| It feels like Google or Facebook groups but cleaner and more organized | It’s literally just Twitter, cesspool included by default. |
| Stable plugin ecosystem. Free, Premium, and Community modules are all supported. | The ActivityPub protocol potentially discourages new and unique features that might break compatibility between various servers |
Preliminary steps
Before we begin, we need to downgrade php to version 73 and install some modules.
# remove php74
$ pkg remove php74

# install php73 and some modules
$ pkg install php73 php73-bcmath php73-bz2 php73-composer php73-ctype php73-curl php73-dom php73-exif php73-extensions php73-fileinfo php73-filter php73-gd php73-gmp php73-hash php73-iconv php73-intl php73-json php73-ldap php73-mbstring php73-mysqli php73-opcache php73-openssl php73-pdo php73-pdo_mysql php73-pdo_sqlite php73-pecl-APCu php73-pecl-imagick php73-phar php73-posix php73-session php73-simplexml php73-sqlite3 php73-tokenizer php73-xml php73-xmlreader php73-xmlwriter php73-xsl php73-zip php73-zlib

# create your php.ini if it does not exist already
$ cp /usr/local/etc/php.ini-production /usr/local/etc/php.ini

# restart everything
$ service php-fpm restart
$ service apache24 restart
Download HumHub
Be sure to check humhub.com for the latest release. Don’t run these commands verbatim as they periodically release new versions.
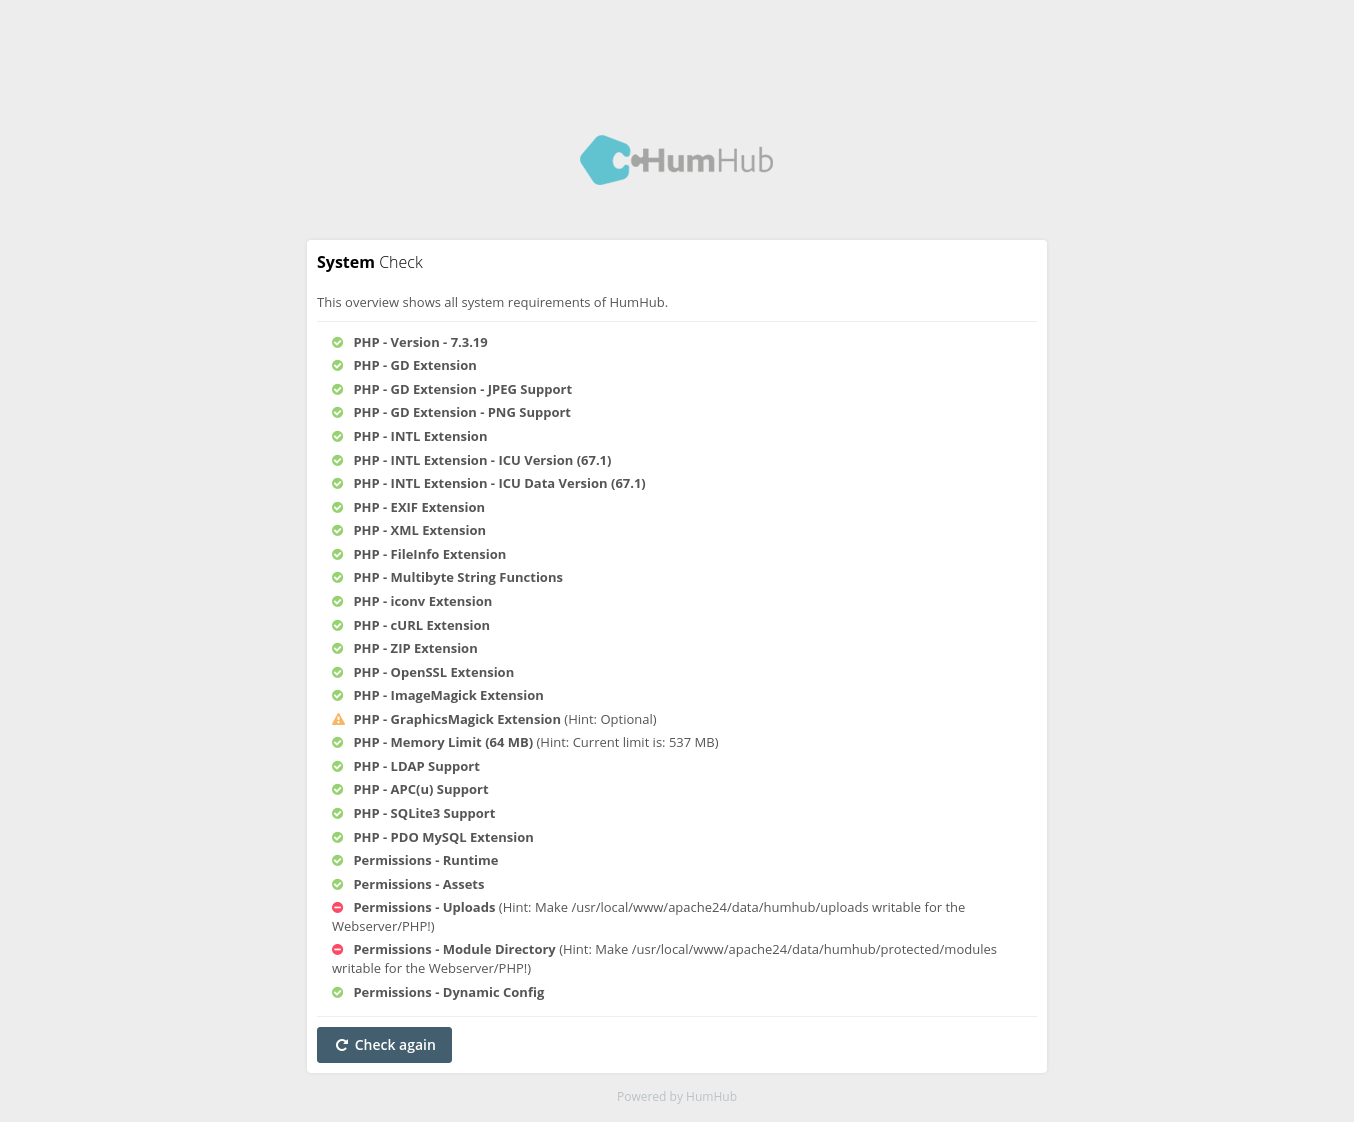
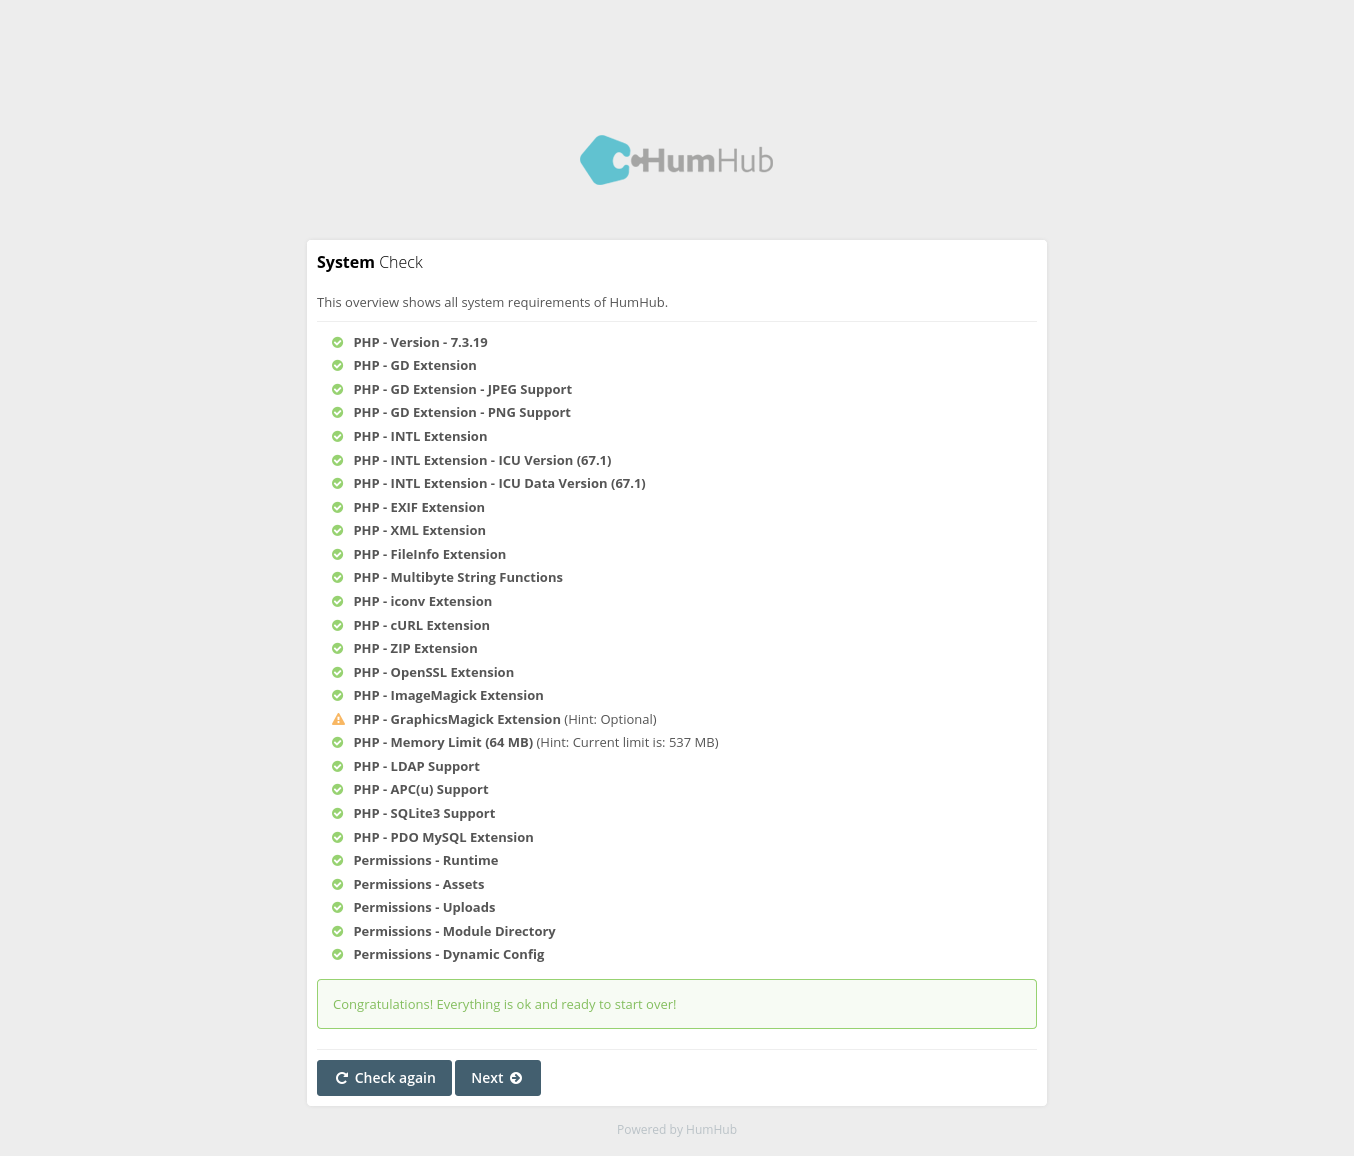
# grab & extract the tarball
$ cd /usr/local/apache24/data
$ fetch https://www.humhub.com/download/package/humhub-1.7.1.tar.gz
$ tar xzfv ./humhub-1.7.1.tar.gz
$ mv humhub-1.7.1 humhub
$ rm humhub-1.7.1.tar.gz


# modify DAC
$ chown -R root:wheel ./humhub
$ cd humhub
$ chmod o+w ./uploads/
$ chmod o+w ./assets
$ chmod o+w ./protected/modules/
$ chmod o+w ./protected/runtime
$ chmod o+w ./protected/runtime/config/
Set up the Database
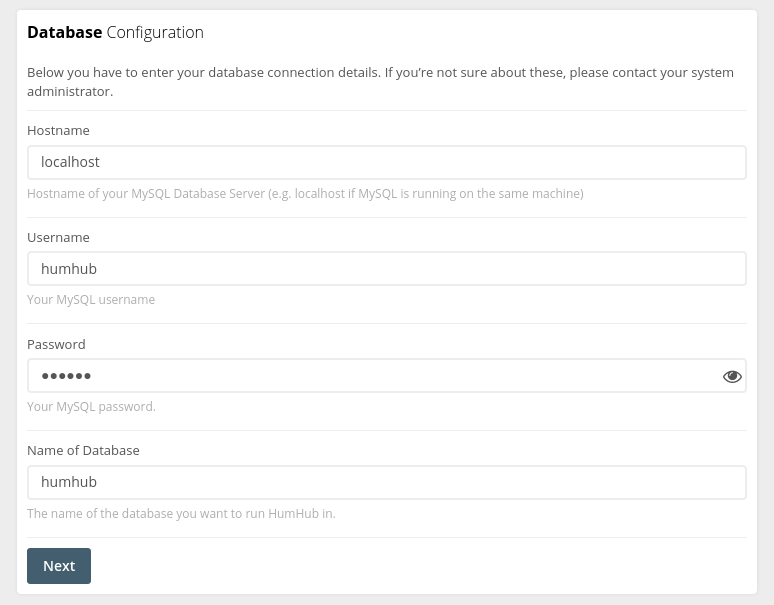
Open up mariadb as a db admin, add the humhub user, database, and do the grants. Remember what values you entered here because you’ll need them later.
CREATE USER 'humhub'@'localhost' IDENTIFIED BY 'humhub';
CREATE DATABASE humhub;
GRANT ALL PRIVILEGES ON humhub.* TO 'humhub'@'localhost';
FLUSH PRIVILEGES;
EXIT;
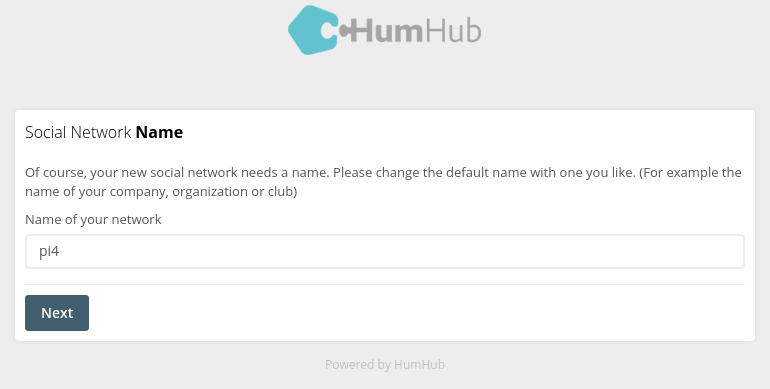
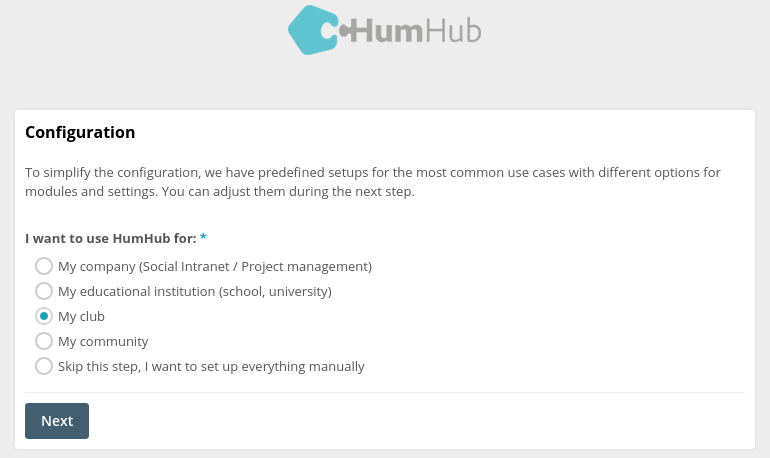
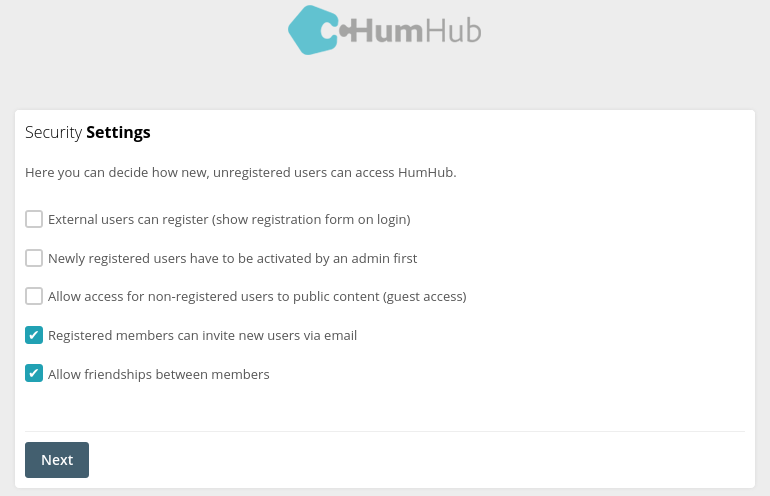
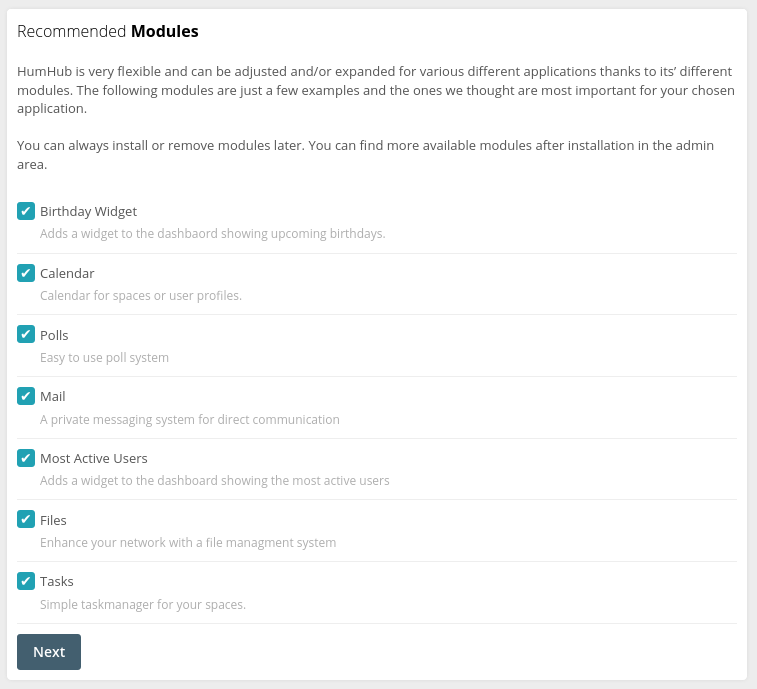
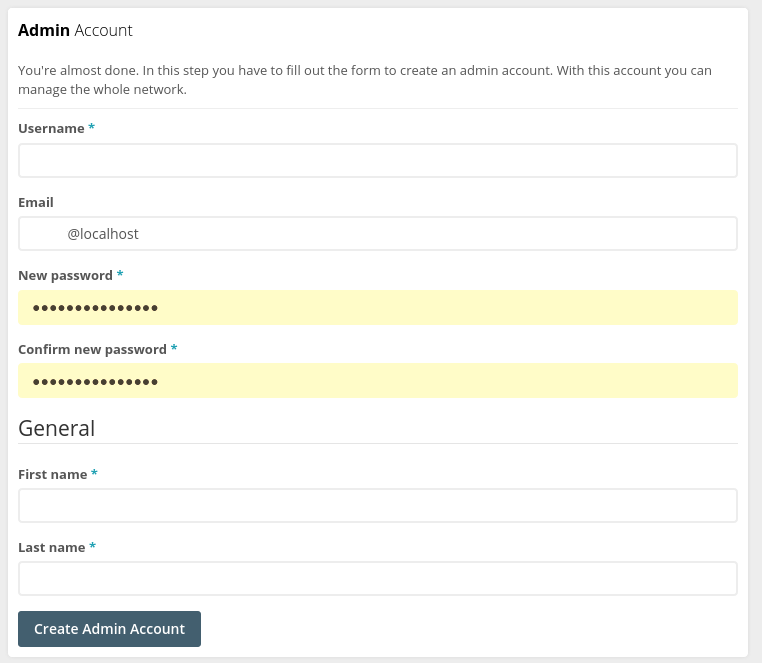
Browser Based Wizard
Kindly ask your server to slide some packets packets over to FireFox. If everything went right, you should see a screen similar to this one. Select your language and click ‘Next’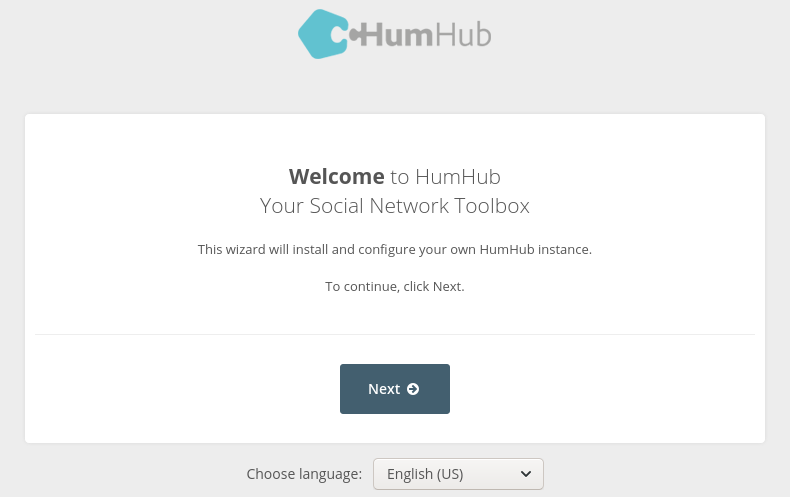

Back to the Shell
Before we’re all ready to go, we need to do a few more things. First we set up a cron job for database maintenance. Open up your crontab in an editor then append the following. Adjust your paths and frequency to meet your own needs.
# as root
$ crontab -e
# for user www
$ crontab -u www -e
* * * * * /usr/local/bin/php /usr/local/www/apache24/data/humhub/protected/yii queue/run
* * * * * /usr/local/bin/php /usr/local/www/apache24/data/humhub/protected/yii cron/run
Now we’ll disable debugging mode. Open /usr/local/www/apache24/data/humhub/index.php in an editor. Find the block that looks like the following:
// comment out the following two lines when deployed to production
defined('YII_DEBUG') or define('YII_DEBUG', true);
defined('YII_ENV') or define('YII_ENV', 'dev');
and make it look like this:
// comment out the following two lines when deployed to production
// defined('YII_DEBUG') or define('YII_DEBUG', true);
// defined('YII_ENV') or define('YII_ENV', 'dev');
Your server should now be fully functional. If you experience issues with uploads, check the log files in Administration > Information > Logging. They will tell you exactly which permissions you need to set on what directories to solve the problem. You might also need to edit your php.ini to increase the maximum upload size from your default (mine was 2M) to something more reasonable like 5M or 10M.
Final Thoughts
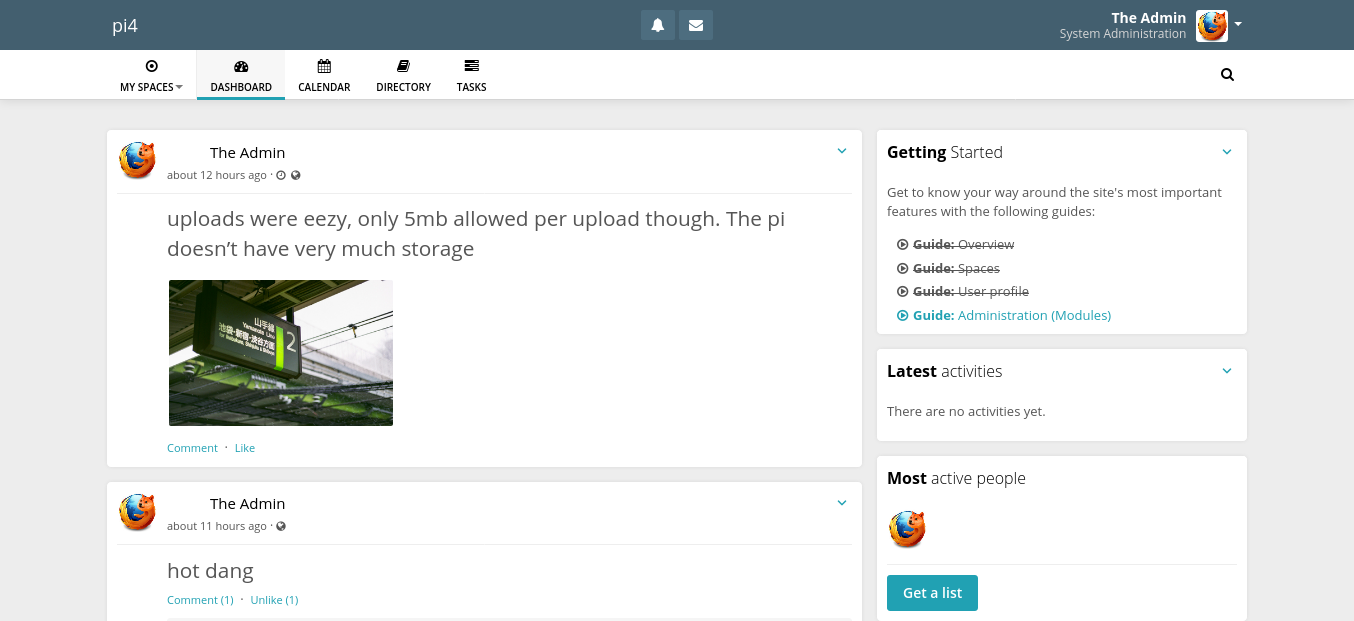
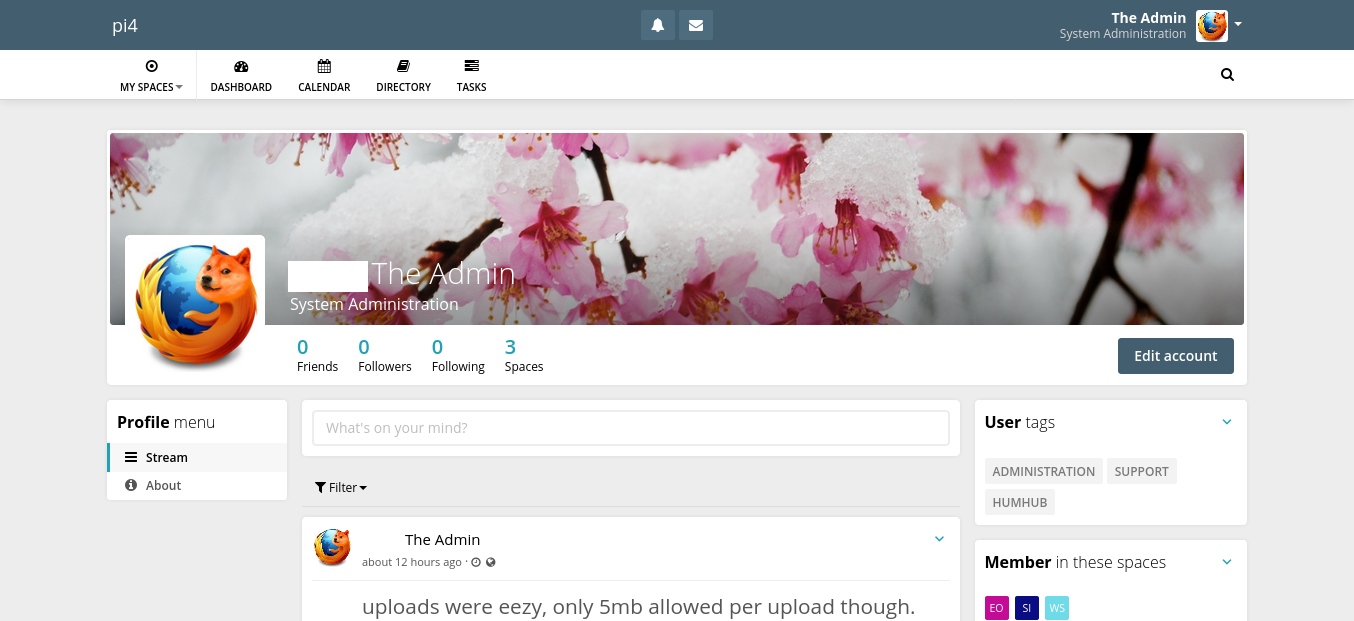
Some screenshots
From an admin perspective?
HumHub seems to be a great option for those of us who want to host a service that’s friendly to inexperienced computer users, professional, expandable, and group oriented. This software is Free, Open, and very easy to install and configure. In contrast to WordPress, and lesser so Drupal, I felt little resistance. There were no major papercuts during the installation process.
Some ‘business oriented’ modules are locked behind a paywall but by purchasing them you are supporting the project. These modules are by no means required for a full experience. Unlike some other projects we know, HumHub ships a fully functional community product. humhub.com also offers managed and unmanaged ‘professional’ licenses on a sliding price scale. The ‘professional’ build provides additional features that might be useful in an enterprise environment.
From a user perspective?
HumHub’s ui really feels like “Facebook but only the good parts”. It’s familiar, simple, and not too overwhelming. The additional modules integrate well into the UI. Although it doesn’t look as modern as other sites, it’s very refreshing to return to simpler design paradigms - ones that aren’t completely symbolic.
Conclusion
I cannot deny, HumHub seems to be exactly what I’ve been looking for all along: an unfederated, centralized, community focused service. Out of every social service I’ve used, HumHub seems to be the most reasonable. There’s no gimmick. It’s just a place to collaborate with the people you actually need to collaborate with.
Now, will I actually use HumHub? Probably not. All social systems require users and I cannot be the only one. If I did have a use case for HumHub, however, I would absolutely choose it over anything else.
 Monero:
  Bitcoin:
  http://ilsstfnqt4vpykd2bqc7ntxf2tqupqzi6d5zmk767qtingw2vp2hawyd.onion:8080
 http://xzh77mcyknkkghfqpwgzosukbshxq3nwwe2cg3dtla7oqoaqknia.b32.i2p:9090
  |
|